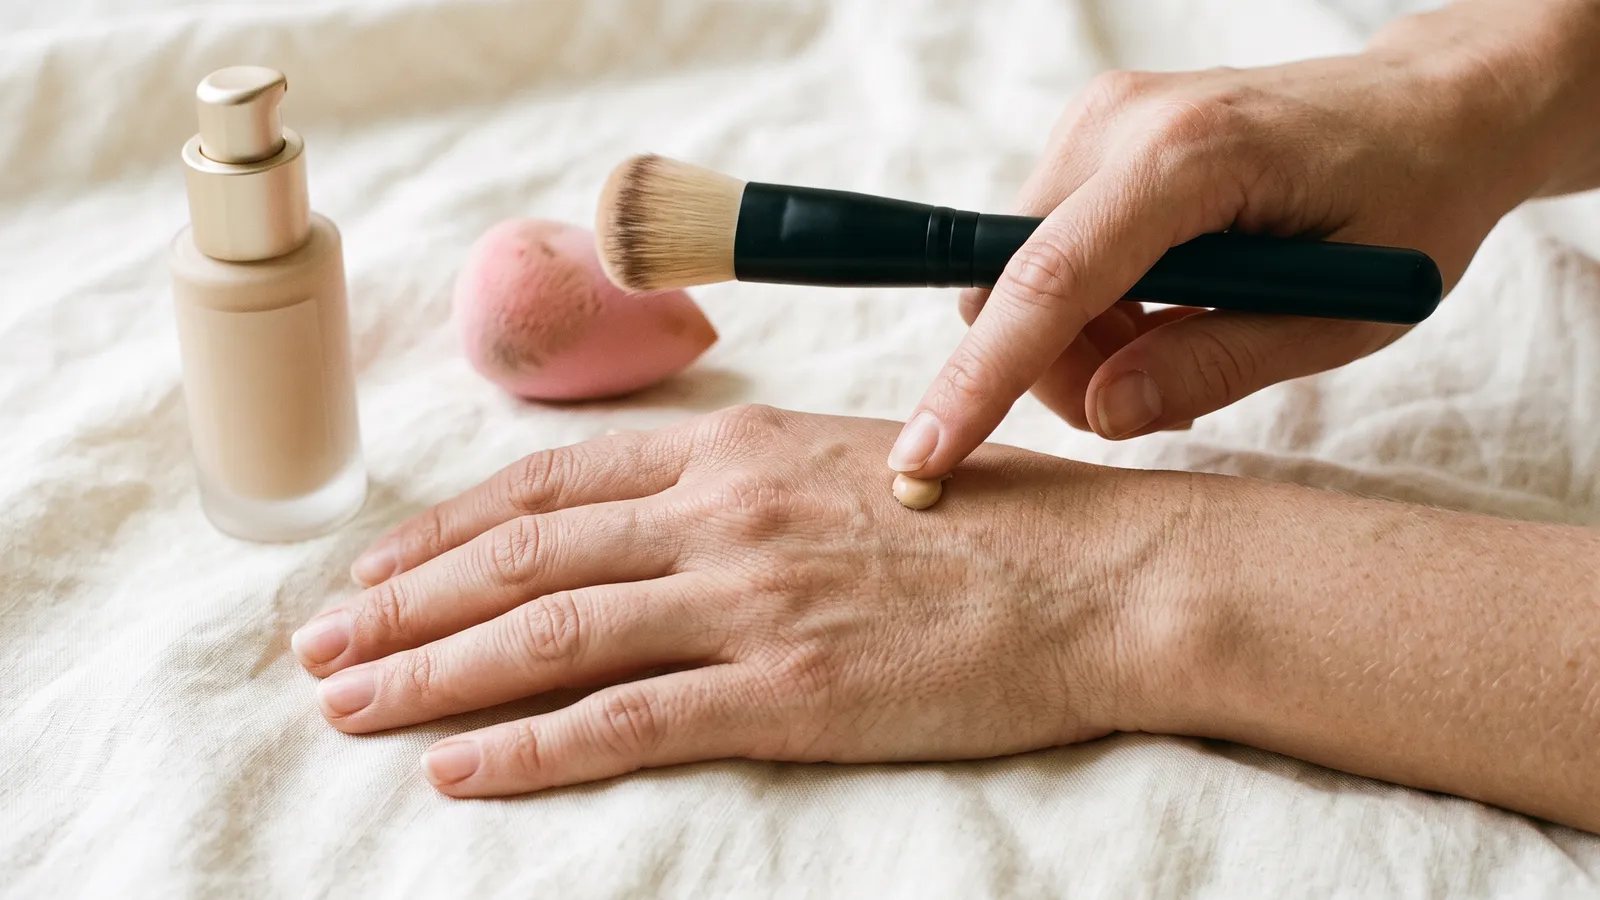
That's how to apply foundation with any tool. The tool you pick changes the finish more than anything else. Makeup.com puts it simply: "A beauty sponge is great for getting a natural, second-skin finish, whereas a makeup brush typically provides more coverage." Fingers are the fastest of the three.
Products that help
Details ↓- Check price on Amazon
Affiliate link: we may earn a commission at no extra cost to you.
- Check price on Amazon
Affiliate link: we may earn a commission at no extra cost to you.
- Check price on Amazon
Affiliate link: we may earn a commission at no extra cost to you.
- Check price on Amazon
Affiliate link: we may earn a commission at no extra cost to you.
Brush, sponge or fingers: which is the best way to apply foundation?
There's no single best way to apply foundation. It depends on the finish you want and the formula in your hand. Real Simple's beauty editor Hana Hong sums it up: "Fingers are best for a quick and natural application, sponges are good for achieving a flawless finish, and brushes are ideal for full coverage."
| Tool | Finish | Best with | Watch out for |
|---|---|---|---|
| Brush | Fuller coverage | Liquid, cream, powder | Streaks if the bristles are coarse |
| Damp sponge | Sheer, soft, "airbrushed" | Liquid and cream | Soaks up product if it's too dry |
| Fingers | Thin and natural | Tinted moisturizer, skin tints, balms | Less even on full-coverage formulas |
A few tie-breakers from the experts we read:
- Powder foundation? Use a brush. L'Oréal Paris says, "If you're applying powder foundation, reach for a brush."
- Thick or balm formula? Fingers warm it up faster than a tool, L'Oréal Paris notes.
- Oily or dry skin? Maybelline says people with oily skin may prefer a brush or sponge, "as these tools can help to absorb excess oil," while people with dry skin may prefer fingers "to avoid removing moisture from your skin."
Many makeup artists mix tools. Celebrity makeup artist Dani Parkes told Who What Wear: "For a lighter look, I'll use my hands and apply my foundation as if I'm applying a moisturizer, and then I'll press the product in with a Beautyblender."
How to apply foundation makeup: the steps
These steps work for liquid and cream foundation. The tool-specific parts come right after.
1. Start with clean tools and clean hands
L'Oréal Paris is blunt about it: "The worst thing you can do is use dirty makeup brushes on your face." Clean tools blend better too. Who What Wear, drawing on celebrity makeup artist Lila Childs, notes that brushes gunked up with old foundation can lead to streaks and pilling. If you're using your fingers, wash your hands first.
2. Moisturize, then wait
A hydrated base helps foundation go on evenly instead of clinging to dry patches. Makeup.com suggests you "try and wait five to ten minutes before moving onto your makeup," so your skincare doesn't make the foundation streaky. In the morning, sunscreen is the last skincare step before makeup; see moisturizer or sunscreen first for the full order.
3. Add primer if you use one
Primer is optional. Makeup.com says it helps "grip the foundation, provide a smooth base and keep your makeup on all day." Give it a minute to set.
4. Dot a little foundation where it's needed
Where to apply foundation first: Maybelline suggests small dots on your forehead, cheeks, nose and chin. Start with less than you think. L'Oréal Paris advises you to "dot the foundation onto your face little by little, and build it up as you need more." It's easier to add a second thin layer than to take a thick one off.
5. Blend from the center of your face outward
Start in the middle of your face and work out toward your hairline, the way Maybelline describes for brush, sponge and fingers alike. Its tip is to "blend in all areas, including your hairline, jawline, and neck." Hong adds that most people's face and neck are slightly different shades, so take the foundation down past your jaw to avoid a line.
6. Tap, don't rub
Whatever tool you use, press or bounce the product in. Hong's rule: "always tap and never rub to avoid uneven distribution." Rubbing pushes foundation around instead of laying it down.
7. Conceal, then set with powder
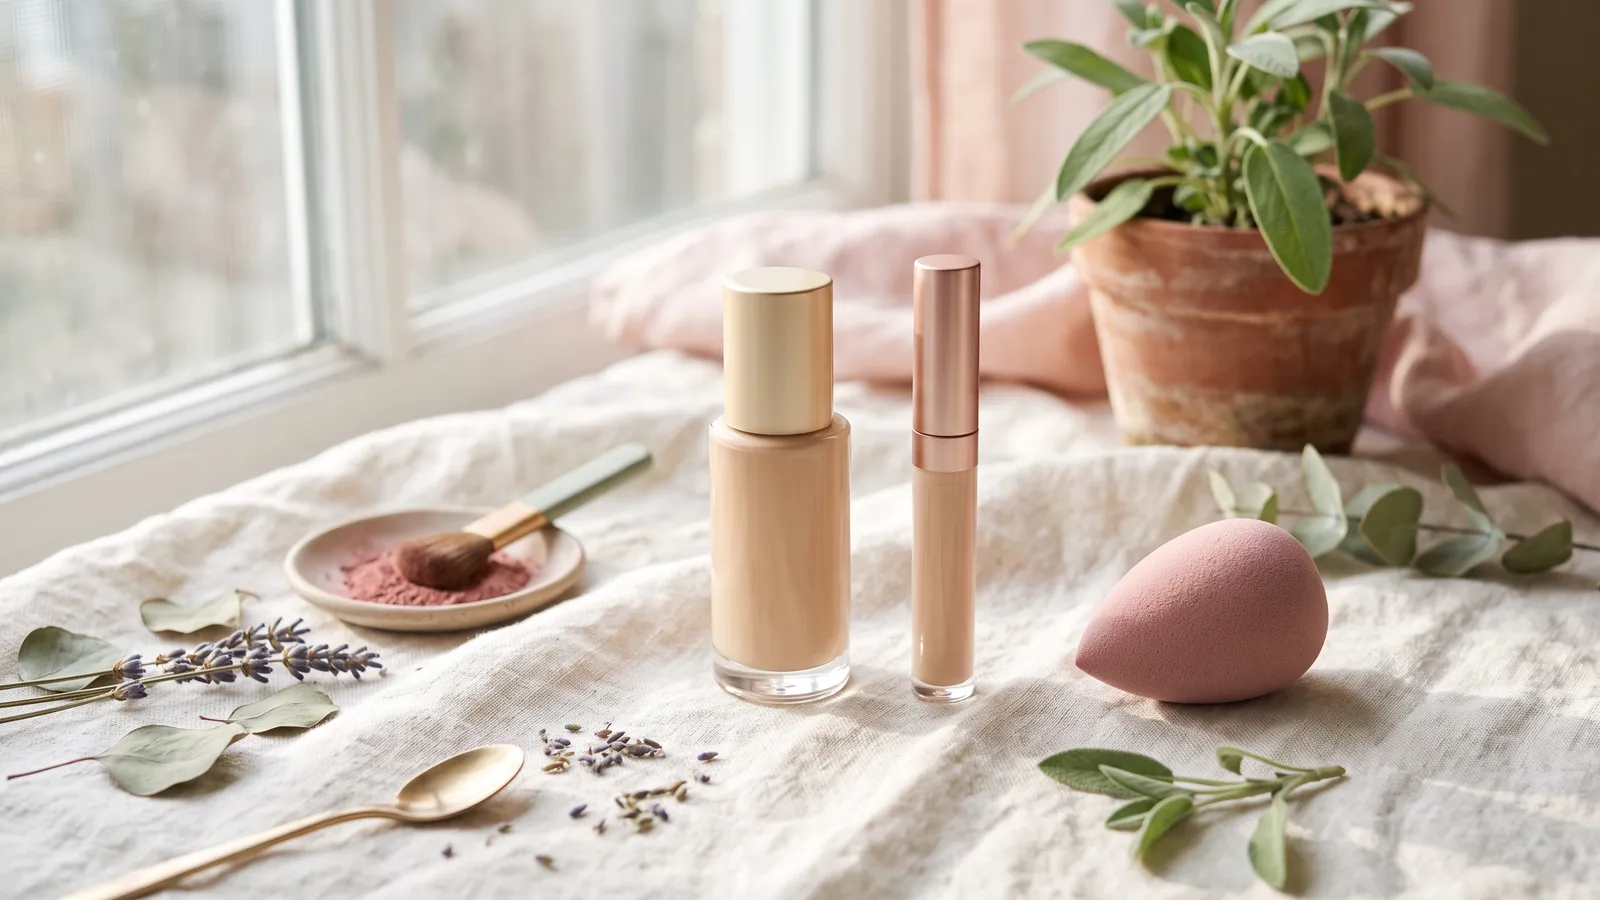
How to apply foundation and concealer together: foundation first, then concealer only where you still see darkness or redness. Makeup.com says "your concealer goes after foundation," so you use less product overall. Our concealer or foundation first guide covers the exceptions.
Then finish with a light layer of powder, mostly on your T-zone. Makeup.com recommends "a light swipe" of setting powder once foundation and concealer are on. A mist of setting spray on top can help it all last.
How to apply foundation with a brush
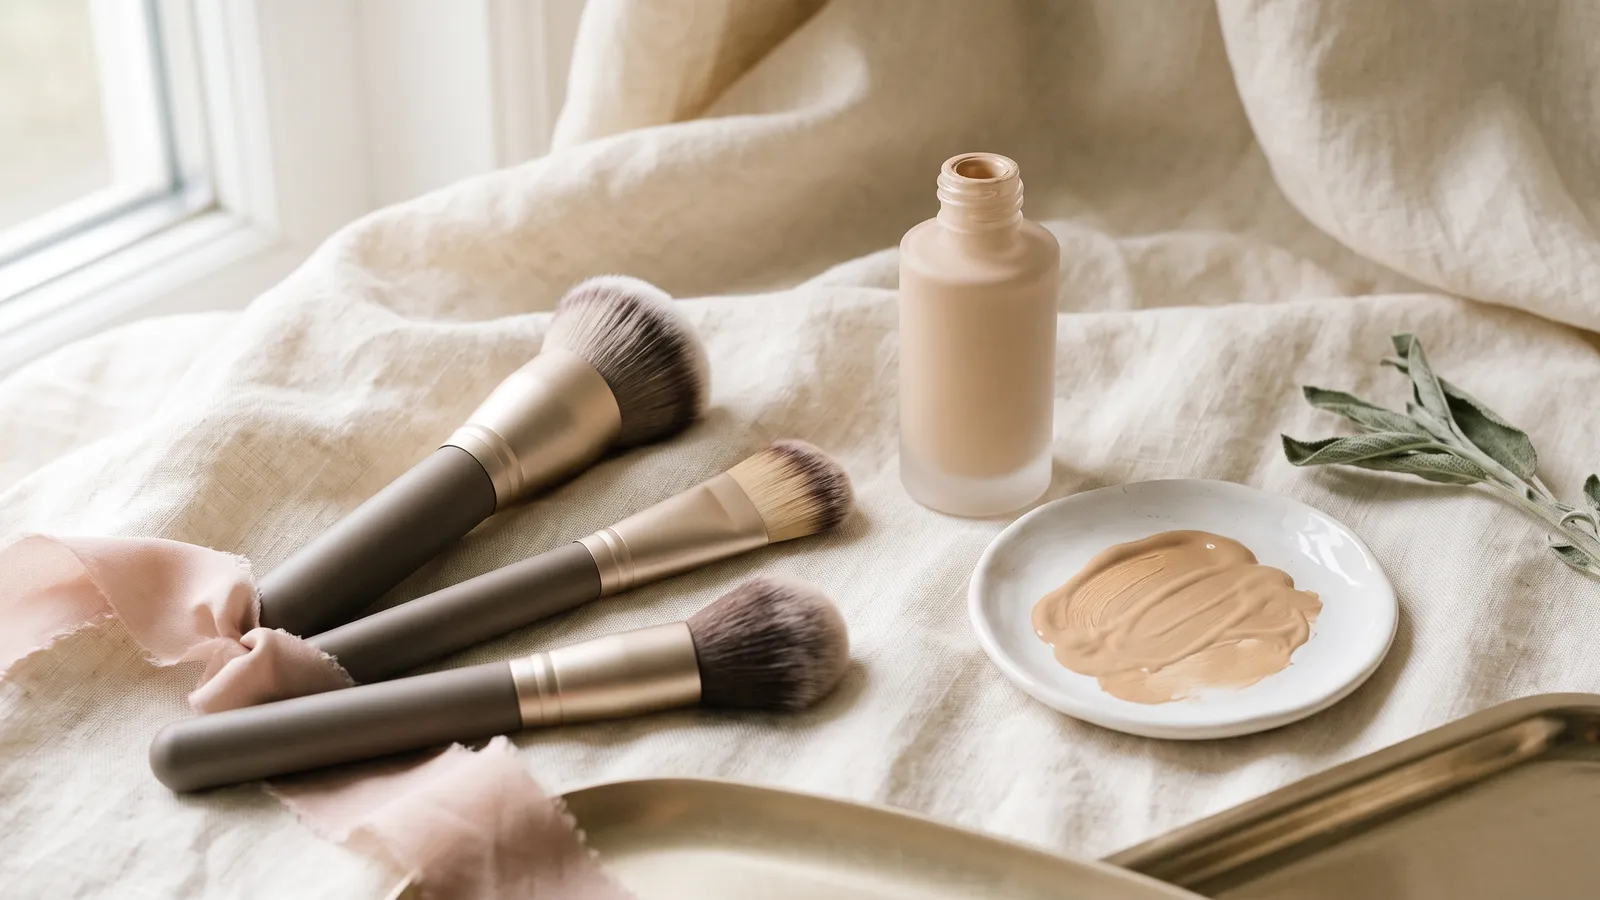
What does a foundation brush look like?
Foundation brushes come in three main shapes:
- Flat paddle brush: flat, tapered bristles you sweep on like paint.
- Dense flat-top (kabuki) brush: short, tightly packed bristles cut flat or slightly domed, for buffing.
- Stippling brush: two layers of bristles. Celebrity makeup artist Cara Lovello told Real Simple, "The top bristles help pick up the foundation, while the bottom, denser bristles tap the product onto your skin."
Look for soft synthetic bristles. Hong suggests a thin-bristled synthetic brush, because thick bristles tend to streak and natural hair can soak up more product. Our best foundation brush picks compare the shapes in more detail.
How do I use a foundation brush?
- Dot foundation on your face (step 4 above), or put a little on the back of your hand and dip the brush into it.
- Stipple (dab) the brush over each dot to spread it.
- Blend outward in small circles or short strokes. L'Oréal Paris suggests "short, downward strokes" so creases and lines are blended out.
- Build a second thin layer only where you want more coverage.
Blend foundation with a brush without streaks
Streaks usually mean too much product, a dry brush or a flat paddle brush dragged across the skin. Lovello says, "I never use flat foundation brushes, only stippling or blending brushes." Makeup artist Kirin Bhatty, also in Who What Wear, uses a stippling brush "in a swirling motion" for a lighter, tint-like finish, and a paint-brush-style brush for a more traditional foundation. Parkes's habit of pressing foundation in with a damp sponge afterward also softens any brush marks.
How to apply foundation without a brush
With a damp sponge
- Run the sponge under water until it expands, then squeeze out everything you can. Lovello says, "Most people aren't getting their Beautyblender wet enough, and it's going to soak up too much of your foundation."
- Dot foundation on your face or the back of your hand.
- Bounce the wide side of the sponge over your skin, using what L'Oréal Paris calls "rolling and dabbing motions."
- Use the pointed tip around your nose and under your eyes.
With your fingers
- Wash your hands, then put a small amount on the back of your hand to warm it.
- Use your ring finger, which presses the lightest, to spread it from your T-zone outward, Hong suggests.
- Pat the edges in. Don't rub as you would a moisturizer.
Fingers work best for sheer formulas. Makeup.com says if you're using a tinted moisturizer, "feel free to use your hands — just make sure they're clean."
Tips by skin type
Dry skin
Moisturize well and go easy on powder. Makeup.com warns against layering pressed powder "if your skin is ultra dry." Maybelline says dry skin may do better with fingers, which don't soak up moisture the way a tool can.
Oily skin
Makeup.com suggests oily skin "steer clear of heavy cream foundations," and says oily skin types "will especially love the matte finish" of a setting powder. Maybelline adds that a brush or sponge can help absorb excess oil.
Mature skin
Use less. Bhatty told Who What Wear: "For mature skin, I find that less is more, so choosing a brush that will apply your products precisely without using too much is key." Build in thin layers and stop when your tone looks even.
Picks that help
Sigma Beauty F80 Flat Kabuki Brush
Best for: buffing liquid or cream foundation to medium or full coverage. Mid-range.
- Sigma says its dense, flat head of soft synthetic fibers gives "a buildable, airbrushed foundation finish," with medium to full coverage.
- The brand's how-to matches the stippling method: "Stipple on liquid or cream foundation and blend it out using circular motions."
- Sigma says it won a 2016 Allure Best of Beauty award. Keep in mind the brand lists it for liquid and cream products, so use a fluffier brush for powder.
Real Techniques Expert Face Brush
Best for: a budget-friendly dense brush for liquid and cream foundation. Drugstore.
- Real Techniques says the synthetic, cruelty-free bristles are hand-cut and "ideal for cream and liquid foundations."
- The brand suggests blending "with back-and-forth motions, starting from the center of the face and blending outwards."
- Keep in mind: the brand recommends washing it weekly. We didn't find an independent editorial review of this brush, so this pick rests on brand information.
Beautyblender Original Makeup Sponge
Best for: a sheer, soft finish and blending around the nose and eyes. Mid-range.
- Beautyblender describes it as "soft, latex-free foam" and says it has won Allure's Best of Beauty award 17 times.
- Lovello told Real Simple, "A Beautyblender will give you an airbrushed look, and you can use the same sponge to blend all your cream products."
- Keep in mind: it has to be fully damp first, and the brand says to wash it with a gentle cleanser and let it air dry.
Beautyblender Blendercleanser Tool Scrub Solid Cleanser
Best for: washing brushes and sponges without a scrub mat. Mid-range.
- Beautyblender says the solid soap has "natural exfoliating grains" and works on sponges and both synthetic and natural brushes. It comes in Lavender, Charcoal and Unscented.
- Makeup artist Lila Childs told Who What Wear she reaches for it when tools have a lot of buildup.
- How to use: wet the tool, swirl it on the bar to lather, rinse, blot and air dry. The brand suggests cleaning your tools at least once a week.
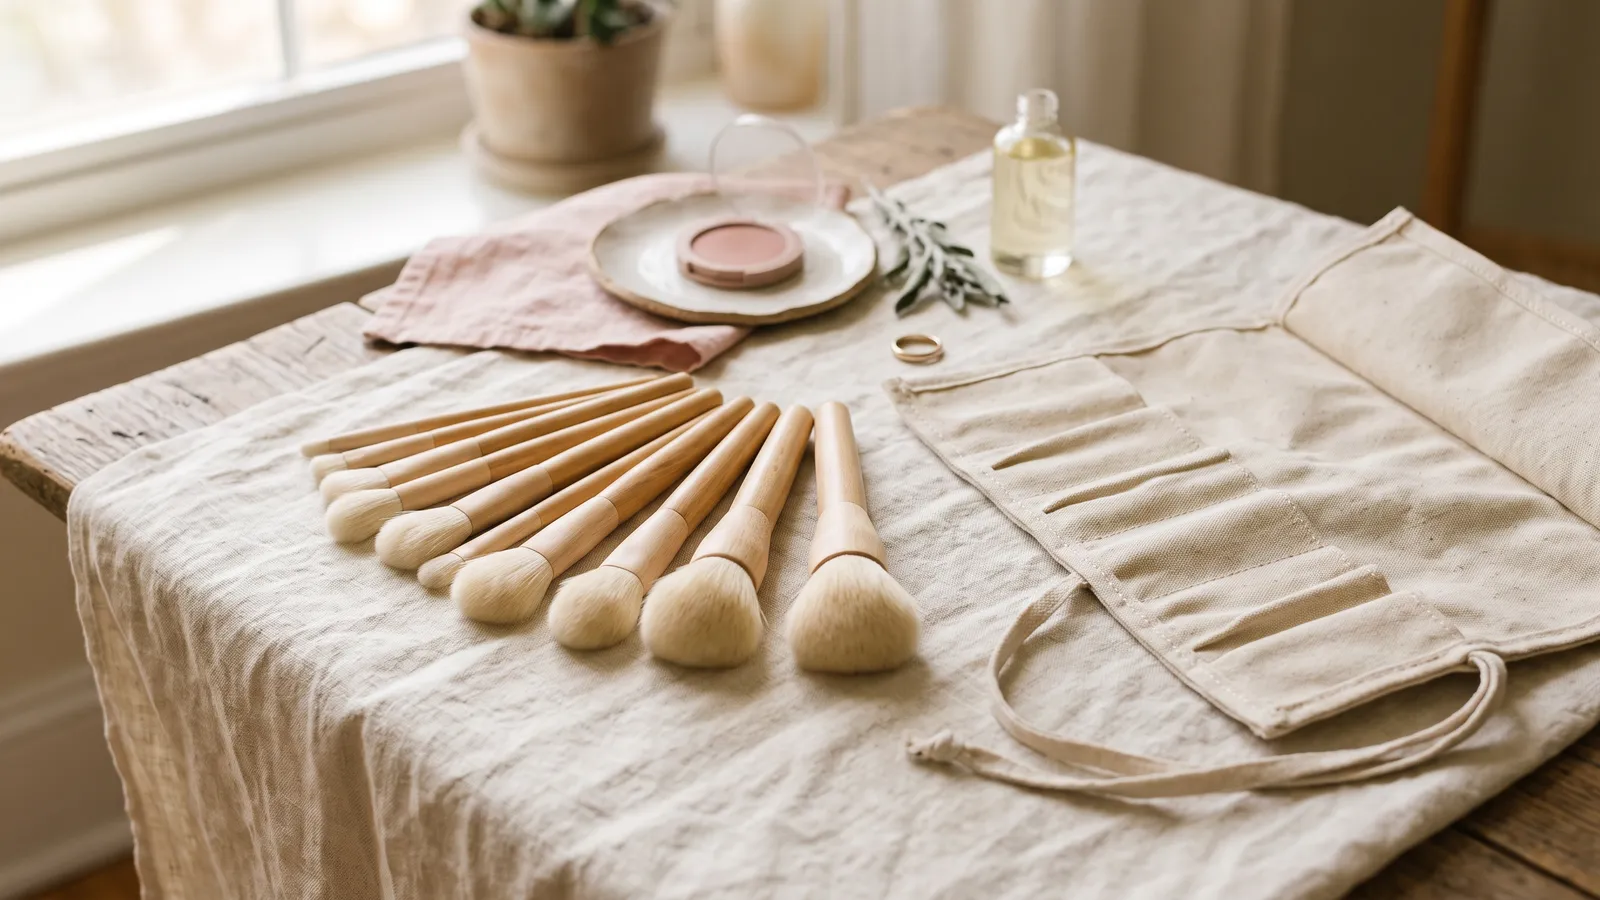
Building a kit from scratch? Our best makeup brush set picks include a foundation brush plus the face and eye brushes you'll use next. For eyes, see the best eyeshadow brushes and the best eyelash curler.
FAQs
How do you apply foundation if you're a beginner?
Use fingers or a damp sponge and a light formula. Dot a little on your forehead, cheeks, nose and chin, blend outward from the center, and tap rather than rub. Check your jawline in daylight before you leave.
How do I find my foundation shade?
Swatch two or three close shades on your face, not your wrist. Warren Dowdall, Senior Pro Artist at Bobbi Brown, told Woman & Home to "swatch darkest to lightest from the cheek to the jawline." The one that almost disappears is your match. Makeup artist Alexa Hernandez suggests wearing the swipe for about 15 minutes, since some formulas darken a little.
How long should you wait after moisturizer before foundation?
Makeup.com says five to ten minutes. Hong waits at least 15. If your foundation pills or streaks, give your skincare longer to sink in.
Is it better to apply foundation with a brush or a sponge?
A brush gives more coverage; a damp sponge gives a sheerer, softer finish. Maybelline says "a brush can help you achieve a full coverage look, while a sponge is better for a lighter, more natural look." Many people use both: a brush to lay it down, a sponge to press it in.
How do you apply foundation and powder without looking cakey?
Use thin layers and powder only where you get shiny, usually the T-zone. Makeup.com recommends just "a light swipe" of setting powder, and Lovello says a damp sponge can also press on loose powder. Skip it on dry areas.
Should foundation go on your neck?
Blend it down past your jawline so there's no line, and onto your neck if the shades differ. Maybelline says to blend into "your hairline, jawline, and neck."
Pick the tool that matches the finish you want, use less than you think, and tap it in from the center out.